
Bathroom clutter has a way of sneaking up on you. Between towels, cleaning supplies, cosmetics, and grooming tools, countertops and shelves fill up fast, leaving your bathroom feeling cramped and chaotic. A bathroom storage floor cabinet solves this problem by providing dedicated, concealed storage that keeps essentials organized and out of sight. Whether you’re dealing with a cramped powder room or a sprawling master bath, the right floor cabinet transforms both function and aesthetics. This guide walks you through selecting, buying, and installing a bathroom floor cabinet that fits your space, budget, and style, no contractor markup required.
Table of Contents
ToggleKey Takeaways
- A bathroom storage floor cabinet eliminates clutter by providing concealed, organized storage that frees up valuable counter space and makes bathrooms feel larger.
- Choose between vanity cabinets (which integrate sinks and require plumbing, costing $300–$1,200 installed) and freestanding cabinets (which are DIY-friendly and cost $150–$600 with zero installation complexity).
- Select materials based on humidity resistance: solid wood offers longevity, engineered wood balances cost and durability, while laminate and metal provide superior moisture protection in bathroom environments.
- Proper installation requires precise measurement, leveling with shims, and securing freestanding cabinets to prevent tipping—allow acclimation time and assemble on a flat surface before final placement.
- Caulk seams where the cabinet meets walls with silicone-based caulk to prevent water damage, and hire a licensed plumber if you’re uncertain about drain or supply line connections.
- A well-chosen bathroom storage floor cabinet can recoup 50–70% of installation costs at resale while demonstrating intentional design and home maintenance to potential buyers.
Why Bathroom Floor Cabinets Are Essential for Home Organization
A floor cabinet anchors bathroom storage in a way shelving and wall-mounted racks can’t match. Unlike countertop clutter, a quality floor cabinet hides everything, bottles, linens, medications, cleaning supplies, while maintaining a clean visual line. You get usable square footage back on your counters, making even small bathrooms feel bigger.
Floor cabinets also provide stability and weight capacity that floating shelves struggle with. A solid cabinet can safely hold heavy items like extra toilet paper rolls, full bottles of shampoo, and emergency medical supplies without sagging or failing. The sealed structure protects contents from humidity and dust, extending the life of stored items. If you have kids or pets, a cabinet with locking doors (or a handle you can fit a padlock through) keeps medications and harsh chemicals safely contained.
From a resale perspective, built-in or freestanding bathroom storage shows intentional design to potential buyers. It’s one of the few upgrades that doesn’t just add aesthetics, it demonstrates that the home is well-maintained and organized. Smart storage in a bathroom renovation often pays back 50–70% of installation costs at sale time, depending on the market and overall quality of work.
Types of Bathroom Storage Floor Cabinets to Consider
Vanity Cabinets With Built-In Storage
A vanity cabinet combines a sink counter and enclosed storage in one unit. These range from 24 inches wide for a pedestal-style setup to 60+ inches for double-sink layouts. Vanity cabinets typically feature a recessed toe-kick (a 4-inch setback at the base) that lets you stand comfortably at the sink, and adjustable shelves or pull-out drawers inside.
The trade-off with vanities is installation complexity. They require plumbing connections (supply lines and drain hookups), and if you’re replacing an existing vanity, you’ll need to disconnect the old one first, that’s easier with a second set of hands. Most building codes require a licensed plumber for drain and vent-stack work, depending on your jurisdiction. Costs typically run $300–$1,200 installed, varying by material grade, countertop type (laminate, solid surface, or stone), and local labor rates.
Vanities work best if you’re doing a full bathroom refresh or replacing a failing sink setup. They anchor the whole room and set the tone for storage and style.
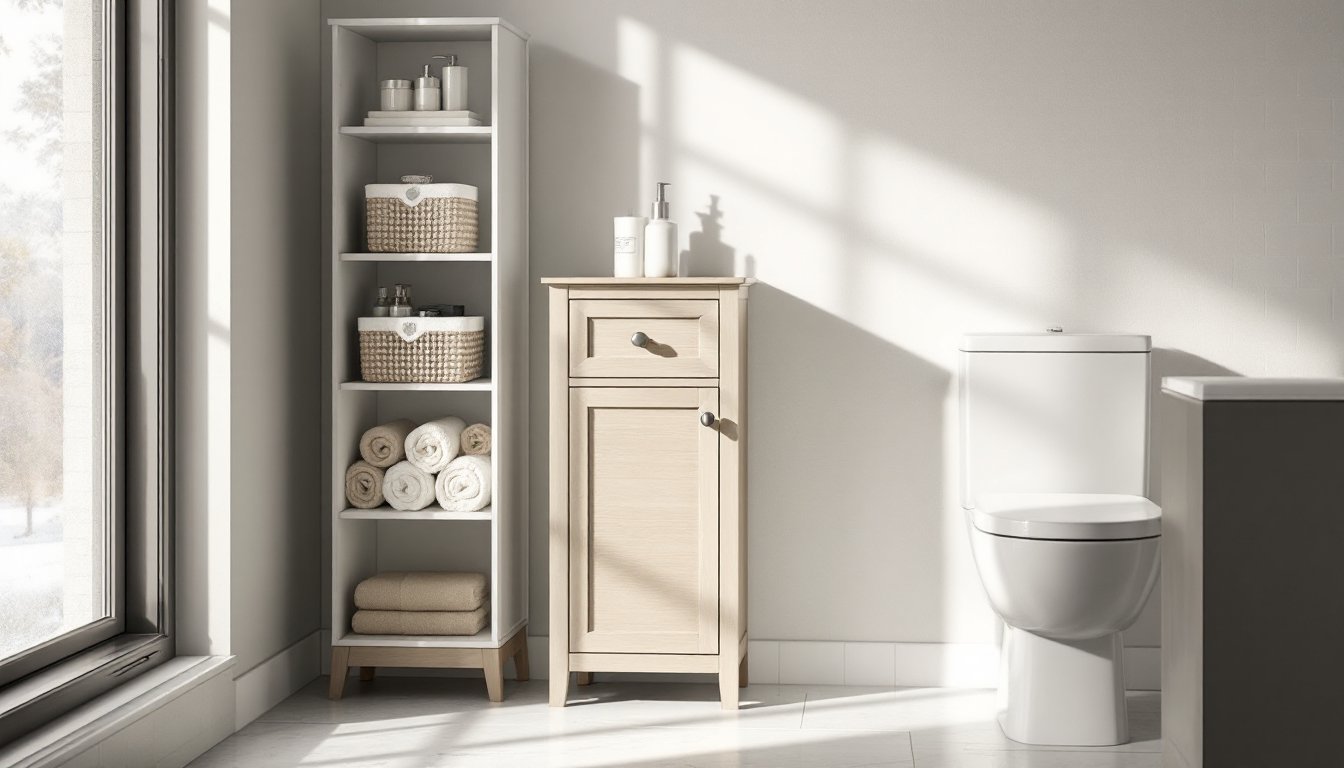
Freestanding Floor Cabinets
A freestanding floor cabinet sits independently on the bathroom floor with no plumbing or permanent installation required. Common types include tall linen towers (12–18 inches wide, 60+ inches tall), compact floor cabinets (24–36 inches wide, 24–36 inches tall), and open-frame shelving units with cabinet bases. These come in wood, engineered wood, or metal, and they’re dead simple to set up, usually just a few bolts to tighten and shelves to insert.
Freestanding cabinets offer flexibility. You can move them, easily repaint them, or swap them out without touching plumbing or walls. They’re ideal for rentals, temporary solutions, or bathrooms where you want to test a layout before committing. Real design experts showcase 20 creative bathroom storage ideas that balance function with visual appeal, many featuring freestanding pieces.
The downside: they don’t look as polished as built-in solutions, and they take up floor space that could otherwise be open. Durability varies widely depending on material and construction. Budget $150–$600 for a decent freestanding cabinet: cheap particleboard units often fail within 2–3 years as humidity warps the material.
How to Choose the Right Cabinet for Your Space
Start with measurements. Measure your bathroom’s width, depth, and height where you want the cabinet. Note any obstructions: pipes, vents, doors opening into the space, or outlet locations. Sketch a quick floor plan, it takes five minutes and prevents costly mistakes.
Next, assess storage needs. What are you storing? Cleaning supplies take deep shelves: towels need wider compartments: medications need small, lockable drawers. A family of four needs more storage than a single person. Make a quick inventory of what currently lives in your bathroom and what you’re hiding in other rooms. That gives you a real sense of capacity.
Consider material and durability in a humid environment. Solid wood (oak, maple, birch) offers longevity but requires regular finishing to resist moisture. Engineered wood (plywood with a veneer) offers a middle ground: it’s cheaper than solid wood and more durable than particleboard, but it still needs sealing. Laminate and thermofoil (a vinyl-wrapped surface) resist water well and are easy to clean, though they’re less “premium” looking than natural wood. Metal cabinets (steel or aluminum) handle humidity flawlessly but tend toward industrial aesthetics.
Style should complement your existing bathroom. Does your fixture hardware lean toward chrome, brushed nickel, or oil-rubbed bronze? Pick cabinet handles and finishes that echo that palette. Designers highlight 10 easy-to-source freestanding bathroom cabinets that work across various décor styles, from farmhouse to contemporary.
Finally, check your budget and decide: DIY-friendly freestanding, or a built-in vanity you’ll install yourself or hire for? Freestanding units cost less upfront and carry zero installation risk. Built-in vanities are pricier but feel more finished and professional.
Installation Tips and Best Practices
For Freestanding Cabinets:
Delivery and acclimation matter more than most people realize. Let the cabinet sit in your bathroom for 24–48 hours before assembly. This allows the wood to adjust to local humidity and temperature, preventing warping or joint gaps later. Unbox it completely and inspect for shipping damage.
Assemble on a flat surface, not the final location yet. Lay out all hardware and fasteners before you start. Use a power drill with a Phillips-head bit to speed up work: hand-screwing cabinet bolts is tedious and leads to under-tightened joints. Check that the cabinet is square (measure diagonally corner-to-corner: both measurements should be equal) before tightening final bolts.
When moving it into position, slide it slowly and check for level using a 4-foot or 2-foot level. Uneven flooring is common in older homes, shim under the feet with plastic shims or hardwood wedges to level it. Never rely on floor leveling alone: that leads to tipping hazards and uneven door swings.
For Vanity Cabinets (or if hiring an installer):
Demolition comes first if you’re replacing an old vanity. Turn off water supply at the shutoff valve under the sink. Disconnect the hot and cold supply lines (have a towel ready for drips) and the P-trap drain by loosening the nuts by hand or with a wrench. If the old vanity is caulked to the wall, run a utility knife along the top seam to cut the caulk, then carefully pry it away with a pry bar or old chisel.
New vanity installation requires a few key steps. Set the new cabinet in place and level it side-to-side and front-to-back using shims underneath. Fasten it to the wall studs using 2.5-inch wood screws through the mounting rails inside the cabinet (usually at the back). This anchors it and prevents tipping. Reconnect the supply lines (use adjustable wrenches or a multi-tool with a crescent wrench head) and the drain P-trap. Use thread-seal tape (plumber’s tape, sold for $3–$5 at any hardware store) on threaded connections to prevent leaks.
If you’re uncertain about plumbing connections, hire a licensed plumber for the drain and supply work. Codes vary by jurisdiction, and a botched connection costs far more than a pro’s $200–$400 fee. If you’re installing a vanity as a cabinet-only (no sink), fastening to wall studs and shimming for level is the only structural requirement.
Safety and Preparation:
Wear safety glasses when cutting or drilling wood. Use work gloves when handling rough-edged plywood or moving heavy cabinets. If spraying stain or polyurethane, wear a respirator mask rated for organic vapors and ensure good ventilation. Bathrooms have limited air exchange, so open a window and use a fan.
Caulk the seams where the cabinet meets the wall using paintable silicone caulk (not acrylic, silicone resists humidity better). This prevents water from seeping behind the cabinet and causing rot. Use a caulk gun and smooth the bead with a wet finger or caulk tool.
If the cabinet will sit on tile or stone flooring, check that the floor is truly flat. Tile can hide low spots: slide a straightedge across the installation area. Uneven surfaces lead to wobbling, so shim aggressively to compensate.
Conclusion
A bathroom storage floor cabinet is one of the highest-return home improvements you can tackle. Whether you choose a freestanding unit you can move in an afternoon or a built-in vanity that anchors your entire bathroom, the result is a more organized, functional space that feels intentional and complete. Take time upfront to measure, plan, and choose the right cabinet for your needs, and don’t skip prep work or leveling. Those extra 30 minutes prevent frustration and ensure your storage solution lasts for years. For inspiration and project walkthroughs, explore detailed woodworking and furniture building guides that cover similar cabinetry work from start to finish.