
Bathroom storage is often the forgotten casualty of home design. When you’re staring at a half bath measuring 5 feet by 8 feet, or a master bath that still somehow feels cramped, you realize that square footage alone doesn’t solve the clutter problem. A slim bathroom storage cabinet, particularly one with drawers, can transform dead wall space into functional storage without devouring your floor plan. This guide walks you through the essentials: why these cabinets work, what types suit your space, how to pick the right one, and how to install and style it like a pro.
Table of Contents
ToggleKey Takeaways
- A slim bathroom storage cabinet measuring 6 to 12 inches deep maximizes vertical wall space without consuming precious floor room, making it ideal for small bathrooms.
- Drawers in a slim bathroom storage cabinet keep toiletries and supplies organized while containing spills, unlike open shelving that creates visual clutter.
- Wall-mounted units anchored to studs are the most stable option, though freestanding cabinets work well for renters seeking flexibility without permanent installation.
- Measure your target space carefully and choose moisture-resistant materials like solid wood with polyurethane finish or engineered wood with water-resistant sealant to withstand bathroom humidity.
- Install your cabinet level using proper fasteners (2.5-inch wood screws into studs or heavy-duty toggle bolts for drywall), and use drawer dividers and organizers to maximize storage potential.
- Taller slim cabinets (48 to 60 inches) visually elongate cramped bathrooms, while keeping the top surface minimal creates a refined, less cluttered aesthetic.
Why Slim Cabinets Are Essential for Small Bathrooms
Most bathrooms operate on a simple truth: vertical space is currency. A full-size vanity or medicine cabinet runs 18 to 24 inches deep and eats precious floor room. A slim bathroom storage cabinet, by contrast, typically measures 6 to 12 inches deep, shallow enough to fit between the toilet and the wall, above the toilet, or in a corner nook without creating an obstacle course.
The vertical approach shifts storage from the floor up to the wall. This creates psychological breathing room: even if your bathroom is objectively small, it feels less cramped when surfaces stay clear. Drawers matter here too. Unlike open shelving or cabinet doors that swing into the space, a slim cabinet with drawers lets you tuck away toiletries, medications, and cleaning supplies without visual clutter. Drawers also contain spills (toothpaste splatter, shampoo leaks) inside the unit rather than leaving rings on open surfaces.
Building code-wise, you don’t face structural hurdles: a slim cabinet is light enough that standard wall studs (16 inches on center) support it without lag bolts or special anchors, though you should always hit studs when possible for a permanent installation. For renters or those hesitant about permanent mounting, there are excellent freestanding slim cabinets that don’t require any wall work.
Types of Slim Bathroom Storage Cabinets
Wall-Mounted and Over-the-Toilet Options
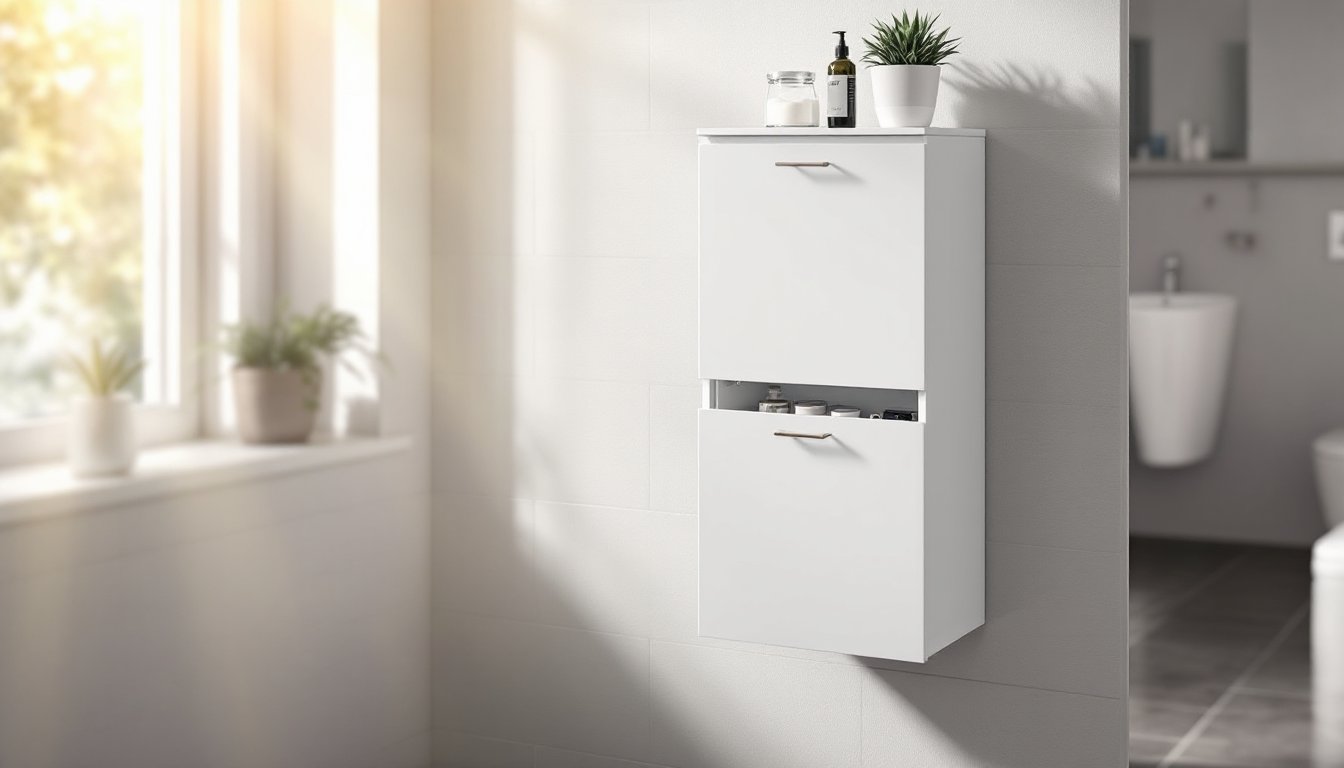
Wall-mounted slim cabinets are the workhorse choice. These are anchored directly to studs or wall anchors and sit flush against the wall. Depths range from 6 to 10 inches, and heights span anywhere from 24 inches (a small floating shelf-style unit) to 60+ inches (a tall tower). When you need a slim bathroom storage cabinet with drawers, wall-mounted units often feature one to three drawer tiers, with fixed shelves above or below. The advantage is that they don’t consume floor space and create a clean, integrated look. Installation demands hitting studs: if your layout forces you between studs, heavy-duty toggle bolts or French cleats distribute weight across a wider area, but a stud-finder and 2.5-inch wood screws into studs remain the gold standard.
Over-the-toilet cabinets are specialized wall-mounted units designed to bridge the gap above a standard 28-inch-tall toilet tank. These typically sit 14 to 18 inches above the tank and measure 20 to 30 inches wide. Many include a slim shelf or drawer compartment on one side, with an open space for toilet-paper storage or decorative items. The advantage is that you’re using wasted overhead space: the drawback is that they can feel cramped if your bathroom ceiling is low (under 8 feet) or if you’re tall and bang your head regularly.
Freestanding slim cabinets are an alternative for renters or anyone wanting flexibility. These are essentially narrow dressers or tower-style units positioned next to a wall. They’re typically 12 to 18 inches deep and don’t require any installation beyond placing them and possibly anchoring them to the wall for safety (especially with drawers, which shift weight forward when open). Materials range from engineered wood to solid wood to metal frames with fabric, and prices span from budget-friendly particleboard units ($100–300) to quality hardwood cabinets ($800+).
How to Choose the Right Slim Cabinet for Your Space
Start with measurement. Note the width, height, and depth of your target wall space. For an over-the-toilet cabinet, measure from the top of the tank to the lowest light fixture or ductwork. For a corner or side-wall placement, check for electrical outlets, vent pipes, or studs. Many DIYers skip this step and return cabinets twice, measure once, buy once.
Consider material and finish. Bathrooms are humid: bathroom-grade materials resist moisture better. Solid wood (oak, maple) and plywood with lacquer or polyurethane finish hold up well. Melamine or MDF (medium-density fiberboard) is cheaper but prone to swelling if exposed to sustained moisture. Stainless steel, bamboo, or engineered wood with a water-resistant sealant are reliable mid-tier choices. Avoid untreated particleboard in a steamy bathroom.
Drawer vs. shelf balance matters. If you store a lot of small items (medications, hairpins, cotton swabs), drawers with dividers keep everything visible and organized. If you’re mainly storing linens, bulk items, or cleaning supplies, shelves offer more flexible sizing. Many slim cabinets mix both, two or three drawers at the base, shelves above.
Width and scale affect visual impact. A 16-inch-wide cabinet feels like a wall accent: a 30-inch-wide unit anchors the wall. In a cramped bathroom, narrow is better, you avoid a heavy, bunker-like feel. Taller cabinets (48 to 60 inches) draw the eye upward and make the room feel taller, which is psychological magic in a 7-foot-ceiling bathroom.
Installation Tips and Placement Strategies
Before you drill, prep the wall. Use a stud-finder to locate studs 16 inches on center. Mark them lightly in pencil. If your cabinet spans multiple studs, align mounting brackets or cleats with at least two studs. For over-the-toilet cabinets, screw the mounting frame into the wall studs on both sides of the toilet tank.
Use the correct fasteners. For drywall into a stud: 2.5-inch wood screws (10 or 12 gauge). For drywall without studs: heavy-duty toggle bolts or snap anchors, these distribute force across a wider area and support 50 to 75 pounds per anchor, sufficient for a shallow, lightweight cabinet. Avoid simple plastic anchors: they’re fine for a small shelf, not for daily drawer use.
Level is non-negotiable. A cabinet that’s even slightly tilted looks sloppy and won’t open/close smoothly. A 2-foot spirit level is your friend. Check both horizontally and vertically before tightening fasteners fully.
For freestanding units, position them 2 to 4 inches from the wall to allow for baseboard or wall trim, and anchor them to the wall if the cabinet is narrow and tall (to prevent tipping if a drawer is fully extended). Most manufacturers include wall-anchor hardware: use it.
Placement strategy: Over the toilet is ideal for unused vertical space but check head clearance. Next to the vanity works if you have a 12+ inch gap and no plumbing. In a corner maximizes unused nooks, measure the corner carefully: walls are often not perfectly square. Opposite the toilet (on the wall facing the toilet) is less ideal because it draws the eye but works if it’s your only option.
Allow 24 hours for caulk or adhesive to cure before loading drawers. Fresh installations can shift slightly.
Organizing and Styling Your Slim Storage Cabinet
Once installed, maximize your cabinet’s potential. Drawer dividers (wood, plastic, or fabric) keep small items corralled. Group similar items: medications together, hair care supplies together, cleaning products in one section. Label shelves or drawer fronts so everyone in the household knows where things go.
Use vertical space inside drawers with stackable organizers or shallow bins. A slim bathroom storage cabinet with drawers can hold a surprising amount if you use every inch. Vertical file dividers work for rolled towels or flattened linens. Magazine-style organizers can corral spray bottles.
The top of a slim cabinet is prime real estate for styling. A small plant, a decorative tray, or a framed photo adds personality. Keep it minimal: clutter defeats the purpose of the cabinet. If you’re using Real Simple’s organizing principles, the rule is simple: only display items that serve a function or spark joy.
For drawers, consider liners, contact paper, drawer liner fabric, or cork, to protect the finish and reduce sliding noise. This is a small touch that makes a cabinet feel refined.
If your cabinet has adjustable shelves, take advantage. Move shelves up or down to fit your tallest items, and don’t leave wasted gaps. Many bathrooms store awkward shapes (curling irons, bottles of varying heights): adjustable shelving adapts to your actual stuff, not a designer’s imagined contents.
Consider finishing touches: IKEA Hackers is full of examples where a simple budget cabinet becomes something special with paint, hardware upgrades, or custom shelving. A $150 basic cabinet painted in your bathroom’s accent color can feel custom-built for $20 in supplies and a weekend of work.
Conclusion
A slim bathroom storage cabinet with drawers solves the fundamental bathroom problem: clutter with nowhere to hide. Whether you choose a wall-mounted unit, an over-the-toilet tower, or a freestanding cabinet, the payoff is clear, accessible storage that doesn’t dominate your floor plan. Take time to measure, pick the right material for your humid environment, and install level and secure. Then organize intentionally and style with restraint. The result is a bathroom that functions better and feels bigger than it actually is.