
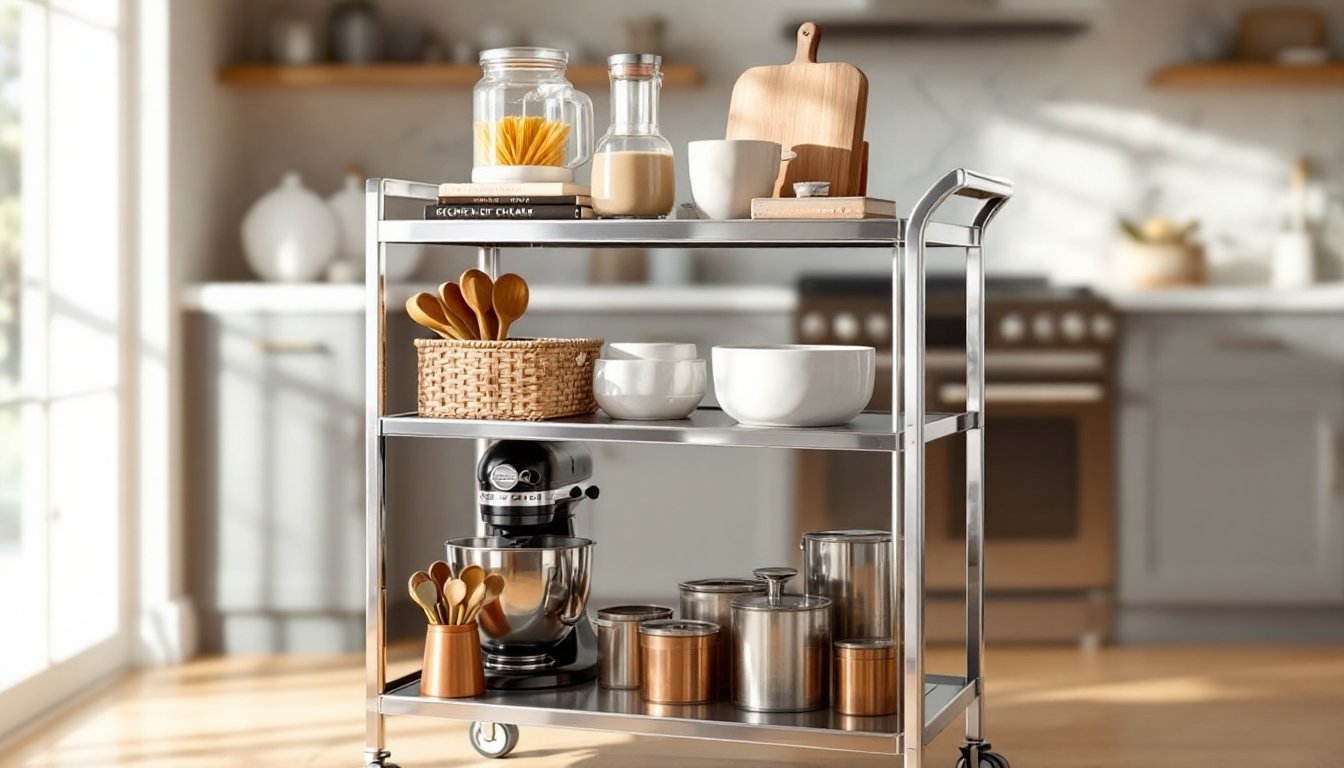
Kitchen clutter has a way of sneaking up on you, one day you’ve got a clear counter, the next you’re stashing measuring spoons in random drawers and wondering where the colander went. A kitchen storage cart isn’t just a rolling piece of furniture: it’s a game-changer for homeowners who need flexible, accessible storage without a full cabinet overhaul. Whether you’re working with a galley kitchen, adding prep space near the stove, or simply tired of cabinet cramming, a storage cart delivers function where you need it most. This guide walks you through choosing, organizing, and maximizing a kitchen storage cart to fit your space and workflow.
Table of Contents
ToggleKey Takeaways
- A kitchen storage cart provides flexible, mobile organization that adapts to your layout without requiring expensive cabinet installation or permanent renovations.
- Mobile carts work best in kitchens with adequate floor space and 36-inch aisles, while fixed carts suit tight layouts and corner spaces where rolling furniture would block traffic.
- Proper organization strategy—placing heavier items on lower shelves, grouping by frequency, and using bins and labels—transforms your storage cart from cluttered furniture into an efficient prep zone.
- Kitchen storage carts cost $80–$400, offering significant savings compared to built-in cabinetry while supporting 150+ pounds per shelf, making them a practical investment for renters and homeowners alike.
- Vertical storage optimization through drawer dividers, pegboard attachments, and strategic shelf placement maximizes capacity while keeping frequently-used oils, spices, and utensils within arm’s reach.
Why Every Kitchen Needs a Storage Cart
A storage cart solves problems that fixed cabinetry can’t. If your kitchen layout is tight or your storage needs shift seasonally, bulky small appliances in winter, outdoor entertaining gear in summer, a cart adapts without renovation costs.
Space flexibility is the primary draw. Unlike a built-in cabinet, a kitchen storage cart rolls where you need it. Prepping a big meal? Position it next to your prep zone for ingredient access. Need counter space for a mixer or food processor? Tuck the cart against a wall or into a corner. For renters, it’s the perfect solution, no permanent modifications, no landlord conflicts.
Organization improves dramatically with a dedicated cart. Instead of hunting through deep cabinets, you’ve got tiered shelves where everything is visible and within arm’s reach. Home storage cabinets offer permanent solutions, but a cart gets items you use frequently, oils, spices, utensils, cookbooks, small appliances, off your counters and organized vertically without eating into your cabinet space.
Cost-wise, kitchen storage carts range from $80 to $400+ depending on materials, size, and construction. That’s a fraction of what cabinetry, shelving installation, or a countertop extension would run. Even budget models hold serious weight, many support 150+ pounds per shelf, so you’re not just getting convenience: you’re getting load capacity that justifies the investment.
Types of Kitchen Storage Carts and How to Choose
Kitchen storage carts come in distinct flavors, each suited to different needs and kitchens.
Mobile Carts for Flexibility
Mobile (rolling) carts are the workhorses. They typically feature locking casters on the base, shelves stacked 2–4 tiers high, and dimensions around 24–30 inches wide by 15–20 inches deep. The beauty is portability: wheel it to where you’re cooking, then stash it away when guests arrive. Steel-frame models with open shelving are durable and easier to clean, no grooves or crevices where crumbs hide. Wood-frame carts with wood shelves offer a warmer aesthetic and are better for display-oriented storage (cookbooks, pretty serving pieces). Some feature wire baskets or drawers for containing smaller items, a huge advantage if you’re storing snacks, napkins, or utensil overflow.
Mobile carts work best in kitchens with clear floor space and accessible corners. If your layout is tight, measure your cart’s footprint (length and width) against your available floor space in multiple locations. Also check aisle width: you need 36 inches minimum to safely wheel a standard cart without scraping walls or cabinets. Locking casters matter too, look for sturdy braking mechanisms, particularly if you have kids or pets who might bump it, or if your kitchen has tile or marble that makes the cart easier to roll accidentally.
A popular upgrade is the IKEA kitchen cart hack, where DIYers add custom wooden tops, drawer inserts, or additional shelving to transform a basic rolling frame into a personalized storage solution.
Fixed and Stationary Options
Fixed carts are anchored in one spot, usually against a wall or in a corner. They skip the rolling hardware (casters), which saves weight, cost, and potential for accidental shifting. Many fixed options include a solid back panel or are designed to nestle into corner spaces, maximizing that dead real estate you rarely use.
Fixed carts work well in small kitchens where a rolling cart would block traffic flow. They also suit pantry-adjacent spaces, a dedicated coffee station in the corner, for example, or a beverage cart tucked beside the fridge. Materials range from bamboo (lightweight, warmer look, around 100–150 lbs per shelf capacity) to stainless steel (heavy-duty, industrial feel, 300+ lb capacity). Your choice depends on what you’re storing. Heavy mixer? Cast iron collection? Stainless steel or heavy-gauge steel is your friend. Lightweight spices, cookbooks, and serving pieces? Bamboo or light wood won’t break a sweat.
Size matters enormously. Measure your kitchen’s actual available space before shopping, measure twice, order once. A 30-inch-wide cart sounds modest until it’s installed and you realize it blocks your refrigerator door swing or makes the passage too narrow. Kitchen storage solutions vary by space and style, so consider both function and how the cart fits visually into your kitchen’s existing design.
Smart Organization Strategies for Your Kitchen Cart
Buying a cart is step one: organizing it strategically is step two, and it’s where most people leave performance on the table.
Start with a purpose inventory. Before loading the cart, list what you actually want to store: daily-use items (oils, vinegars, spices), small appliances (blender, food processor), baking supplies, or seldom-used serving pieces. Your inventory shapes tier-by-tier placement.
Heavier items go lower. This isn’t just about balance, it’s physics. A full mixer on the bottom shelf is stable and easier to roll. Glass jars of flour and sugar on the top shelf can topple if the cart hits a bump. If you’re using a mobile cart, weight distribution matters for handling and safety.
Group by frequency and workflow. Keep daily oils and seasonings at arm’s height (mid-shelf). Cooking tools you grab constantly belong on the same tier. Seasonal baking supplies or backup pantry items can live lower or higher, out of immediate reach. This clustering saves time, you’re not hunting across three shelves for a single recipe’s ingredients.
Use drawer inserts, baskets, or bins. Open shelves are easy to clean, but small items (spice jars, packets, utensils) scatter. Tiered shelf risers, lazy Susan turntables, or sliding baskets transform an open cart into a tidy system. Drawer dividers for utensils cost $10–20 and eliminate the “junk shelf” feeling. Stainless steel or bamboo bins match most kitchen aesthetics and stack efficiently.
Label everything. Seriously. Use painter’s tape and a label maker for oil bottles, flour containers, and grouped items. When you grab a “mystery” bottle at 6 p.m. and it turns out to be hot sauce from 2019, you’ll understand why this matters. Clear containers are your ally, you see what’s inside and when you’re running low.
Respect vertical real estate. Most carts have 3–4 shelves. Taller glass jars and containers block sightlines and waste shelf height. Use the inside of cart sides (if accessible) for magnetic strips to hold knives or metal utensil containers. Attach pegboard to the back (if the cart design allows) to hang frequently-used ladles, whisks, or measuring spoons. Even a 12-inch pegboard panel adds serious utility without bulk.
Plan for moisture. Kitchens get humid. If your cart is wood, avoid storing damp items or opening the dishwasher directly in front of it, steam warps shelves over time. Metal carts need less fussing, but wipe spills quickly to prevent rust on lower-quality steel. Food storage containers should be airtight and checked regularly for moisture or mold, especially in humid climates.
Rotate seasonally. Your cart isn’t static. Summer might mean extra picnic plates and outdoor entertaining supplies: winter, baking gear and slow-cooker accessories. Every few months, do a reset, toss expired items, regroup, and optimize for the season. This keeps your cart functional and fresh.
Conclusion
A kitchen storage cart is a straightforward, cost-effective way to reclaim your counters, improve organization, and adapt your kitchen to how you actually cook. Whether you choose a mobile model for flexibility or a fixed option for stability, the payoff is immediate: fewer searches for tools, less clutter, and a kitchen that works harder for you. Take time choosing the size and materials that fit your space, then organize it intentionally. Done right, a storage cart becomes an indispensable part of your kitchen’s function, not just a piece of furniture rolling around.